Viewfinder cameras are commonly used to take photos. The subject's image is reflected on ground glass. Then the lens illuminates film and takes the photo. The viewfinder turns dark when the photograph has been taken. This camera is the best for amateurs. But professional photographers still prefer DSLRs. The DSLR digital camera can track moving objects and focus on them using fast autofocus motors. A flip-down lens can be placed on top to aid composition. It cannot make movies, but it does allow the user to compose a picture and view the image at the same time. The CCD, also known as the CCD sensor on the DSLR, is activated only after the photograph has been taken.
Through-lens metering was one the most important innovations in early SLRs. CdS meters allow the photographer to select a lens aperture. The CdSmeter will compensate by using it. This allowed for smaller apertures, which prevented darkening of the viewfinder screen image while taking photos of small objects.
The introduction of an automatic diaphragm was another important development. This allowed photographers to take photos without the need to open or close the diaphragm manually. The diaphragm used to have to be manually opened once the film was exposed. To take the picture, the diaphragm needed to be opened up again manually.

Another innovative feature of the early SLRs was the pellicle mirror. This innovative method allowed viewers to see through the lens, without needing to open the mirror. This was also a significant improvement in the design of SLR.
Another innovation was the introduction of a waist-level finder. The viewer was able to view the image from eye level. The waist-level finder, unlike the earlier finders was made to show the reverse image. Photographers had to adjust the finder mentally before taking photos.
Rectaflex, an Italian camera manufacturer, was the first to make a pentaprism eye level finder for 35mm SLR cameras. Rectaflex's prototype was introduced in 1947 and series production began in September of 1948. Contax S came out the next year. It was the first SLR to feature a pentaprism, eye-level finder.
Rectaflex was the first SLR camera that had an instant-return reflector. This mirror reflected the image back to the ground glass, and allowed the camera to take the photo without having to manually return the mirror to its original position. Rectaflex is also the first SLR that featured a focal plan shutter. This allowed the camera use any lens in its photographs, as opposed to having to use one lens on every photo.
The first Japanese SLRs appeared in the 1950s. The Asahiflex IIB, a 1954 SLR that included a black viewfinder, was one of these. Other manufacturers followed their lead.
FAQ
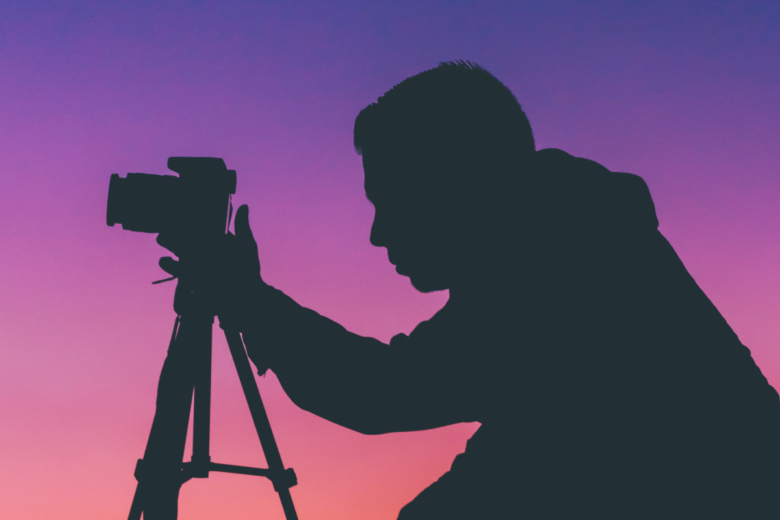
Do I Need A Tripod?
This is one of those questions that everyone asks. Although a tripod might not always be needed, they can be useful.
It helps you keep your camera steady while taking pictures at slow shutter speeds. A tripod can make all the difference when you're photographing landscapes or other stationary subjects.
However, a tripod can blurriness if you are photographing moving subjects, such as people or athletes. How do you determine which situations need a tripod?
A tripod is useful when you need to photograph stationary or fast moving subjects. Examples include:
-
Sports
-
People
-
Landscapes
-
Close-ups
-
Macro shots
This test will help you determine if you need a tripod. Take your camera and hold it still. Then, look through the scope. If you see blurred lines or movement, then you definitely need a tripod.
If you don't see any blurring, you probably won't notice any improvement by adding a tripod.
These tips will help you make the right decision about whether to invest in a tripod.
-
Smooth legs are important for tripods. This prevents unwanted vibrations from shaking your camera.
-
Choose a sturdy tripod. Some tripods are made out of plastic and may not be very durable. You should opt for a steel tripod.
-
Buy a remote release. Remote control allows you to remotely control your camera. It can automatically fire the shutter when you press the button.
-
Make sure to look for a tripod that rotates 360 degrees. This makes it easier to position your camera vertically or horizontally.
-
Tripods are expensive. Expect to pay around $100-200. But, you will get a lot for your buck.
-
Don't forget about accessories like filters and memory cards.
-
Before ordering online, you should check in your local shops. Many retailers offer shipping free of charge.
-
Review a product to find out what other customers think.
-
Ask friends and family members who own similar products.
-
Forums and message boards are a great place to find out about customer experiences.
-
Find user reviews online.
-
Amazon.com makes it easy to compare prices and see customer feedback.
-
See photo galleries to see some of the creative uses for tripods by photographers.
How can I improve my smartphone's photography skills?
Great photos don't require expensive equipment! Amazing photos can be taken with your smartphone.
All you need to do is to be able to use the features of the program and to master some basic techniques.
There are many apps to help you edit and share your photos on both Android and iOS.
Here are five tips for taking better pictures.
-
Set Up Your Camera App. Your camera application should be already installed on your device. You can download the camera app from Google Play and Apple's App store.
-
Use Effects & Filters. Filters and effects can be used to modify the appearance of your photograph without touching your image.
-
Adjust the exposure. Adjusting exposure helps you control the brightness of your picture.
-
Photograph in the Right Light The brighter the light, the easier it is to see details. You can capture highlights and shadows in low-light conditions.
-
Photograph People. Photographing people can show others what you are most passionate about.
Learn more about taking better photos with your smartphone by reading our article 5 Tips to Improve Your Photography Skills.
Is photography a talent
Photography is an art form, not a talent. It requires training, experience, and practice. It takes years to master any aspect.
Photography is a business. You must have a plan to make money.
This is possible by understanding the client type you wish to attract, and then finding ways to reach them.
You need to know who they are and what they want. To convince them to purchase your services, you need to be able to communicate clearly.
This means you need to be prepared and well-organized when meeting potential clients.
To be ready to meet potential customers, you'll need to build a portfolio. This can be done electronically using software programs or printed on paper.
Once you have created a portfolio, you must look for opportunities to show it off. This could be by approaching businesses directly, or even advertising online.
How do you get started in digital photography
You should first consider what kind of camera you want when you begin digital photography. There are many options available, including DSLRs (digital single-lens reflex cameras), compact point-and-shoot cameras, camcorders and smartphones. Each one has its advantages and disadvantages. DSLR cameras are more expensive and weigh more than other types of cameras. Point-and shoot cameras are lighter and smaller than other types of cameras and can often be set up automatically for certain situations. Camcorders have excellent video recording capabilities. They may also offer still-photo shooting modes. Smartphones are lightweight, portable, and light. They offer excellent image quality, advanced features, such as GPS mapping, music playingback, and Internet browsing.
Once you've chosen the type of camera that you want, you can decide whether to purchase a used or new model. You can find affordable used cameras, particularly if you bought them in the last few years. Newer models cost more, as manufacturers spend a lot of money on developing new technology.
Next, purchase lenses. The quality of your photos is directly affected by the lens. They allow you to control the lens's focal length, allowing you to zoom into the scene without losing focus. Some lenses come with built-in flash units while others need external flash units. There are many brands that offer a wide variety of lenses, each with its own unique characteristics.
You will also need memory cards. Memory cards store pictures taken by your camera. Your card's size will determine how many pictures it can store. Multiple memory cards are required if you intend to take many pictures.
Statistics
- In this case, 100% of readers who voted found the article helpful, earning it our reader-approved status. (wikihow.com)
- Get 40% off Adobe Creative Cloud(opens in new tab) (creativebloq.com)
- There are people out there who will pick at flaws they can only see in 100% crops of your photos. (wikihow.com)
- This article received 13 testimonials, and 100% of readers who voted found it helpful, earning it our reader-approved status. (wikihow.com)
External Links
How To
How to take photographs in low lighting conditions
Low-light photography can be defined as taking photos in dimly lit and dark environments. It requires special equipment. The main challenges in this field include controlling exposure, whitebalance, and sharpness. Low light photography can be divided into two categories: ambient and flash. Flash photography is best when there is enough light. You will need a flash if you don't have enough natural light. If your subject is outdoors but indoors, you might not have enough light to take a great picture without a flash. If you don't want to use a flash, try shooting at night during the moonlit hours. You'll be able to capture beautiful colors and shadows this way. Another option is to capture at twilight. Twilight is the time when the sun has set and there's still daylight.
Long exposures are also an option. Long exposures can be used to capture images even if the shutter has been closed for several minutes. The camera records only light falling on the sensor if it is kept closed. The light that falls onto the sensor during a long exposure continues to be recorded. However, because the shutter remained shut, no new light enters the lens. Therefore, there is very little movement. You can ensure clear images by turning off automatic settings such as autofocus or autoexposure. Make sure to adjust the ISO setting before starting to shoot. A 200 ISO setting gives you greater control over how dark or bright your image looks. When you're ready for the shot, press quickly the shutter button. This will bring the shutter completely to a close. Keep the shutter button pressed down until the last second. You can prevent any additional light entering your camera by holding the shutter button down. Wait a few seconds after you have taken the photo before you release the shutter button. This allows the camera's to process the image. While your image processing is taking place, you will be able to view your photos on your screen. Once you are satisfied, save them on your computer.