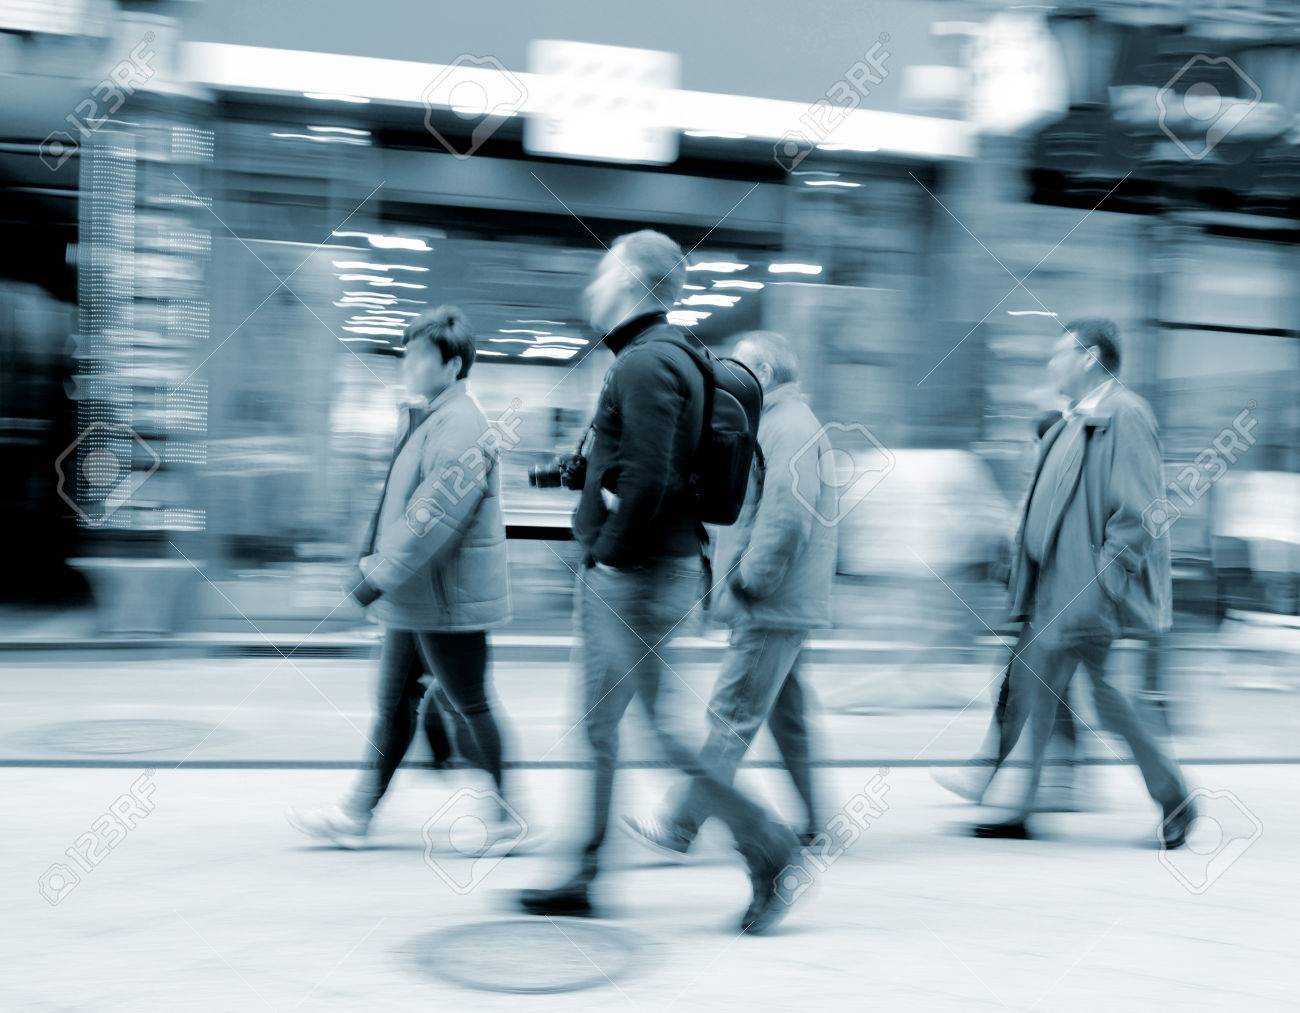
Getting the composition right is a critical aspect of any picture. These are some important points to remember: Lighting, rules of thirds, backgrounds. Properly exposing your picture with a flash can help achieve the desired results. Use these tips to capture great shots! And, don't forget to practice! Once you get the basics down, you'll be well on your way to becoming a great photographer.
Third-party rules
The Rule of Thirds is a common concept among beginners in photography. This simple compositional principle divides your frame in equal sections. Your subject is in the left-third and your horizon in your right-third. Your photograph should be balanced to allow the viewer to take a visual journey through it. But what is the Rule of Thirds?

Choosing the right background
The background is just as important as the subject. A background that is right for the subject can balance it or emphasize it. However, background should complement and not compete with the main subject. While some subjects will look great with a natural background background, others will need to be more creative in order to stand apart from the background. Here are some tips on choosing the perfect background for photography.
Using flash
Your pictures can be enhanced with flash photography. A reflector can be used to bounce flash light back onto the subject. White walls can work well as a reflector. The object should be at 45 degrees to the light source. Professional photographers often use silver or white diffusion material as a screen. These tools can be purchased at any camera accessories store. Here are some tips that will help you create great flash photos.
Proper exposure
Learn how to expose correctly to ensure the best possible photo. There are many methods to achieve your desired result. In the end, you will be glad you took the time to learn the basics. You should remember, for instance that shutter speed can affect the amount of light your camera sensors can capture. The shutter speed is a fundamental component of exposure, as is ISO sensitivity.
Using a reflector to improve light
The primary use of a reflector in photography is to control the amount of natural light. A reflector works best when the subject is right next to the light source. Reflectors bounce light off of the subject and leave them in shadow. This method can be done indoors or outdoors, depending on the lighting conditions. In either case, the angle of the reflector is dependent on the subject's position and the amount of light it bounces off of it.
FAQ
Do I Need A Tripod?
This is one of those common questions. A tripod isn’t always needed, but it can be very useful.
It helps you keep your camera steady while taking pictures at slow shutter speeds. Tripods can be a huge help when you are shooting landscapes or stationary subjects.
However, a tripod can blurriness if you are photographing moving subjects, such as people or athletes. What are the best ways to determine which situations you need a tripod for?
A tripod can be useful in any situation where you need to capture fast action or stationary subjects. Examples include:
-
Sports
-
People
-
Landscapes
-
Close-ups
-
Macro shots
If you're unsure whether you need a tripod, try this test. Hold your camera still and look through the viewfinder. A tripod is required if there are blurred lines, movement or other issues.
If you don’t see blurring, adding a tripod is unlikely to make any difference.
These tips will help you make the right decision about whether to invest in a tripod.
-
Smooth legs are a must for your tripod. This will stop unwanted vibrations shaking your camera.
-
A tripod is a good choice. Some tripods are made out of plastic and may not be very durable. Instead, choose a metal tripod.
-
You may want to consider buying a remote-control device. You can control your camera remotely with this remote release. You can set it to fire the shutter once you press the button automatically.
-
Make sure to look for a tripod that rotates 360 degrees. This makes it much easier to position your cameras horizontally or vertically.
-
Tripods are expensive. Expect to pay around $100-200. However, you'll get lots of value for your dollar.
-
Accessories such as filters and memory cards should be considered.
-
Before shopping online, be sure to visit your local shop. Many retailers offer free shipping.
-
Check out customer reviews to learn what they think about a product.
-
Ask family members and friends who own similar products.
-
To learn more about customer experiences, you can visit forums and message board.
-
User reviews can be found online.
-
Amazon.com makes it easy to compare prices and see customer feedback.
-
View photo galleries to see the different uses of tripods by photographers.
Light Room can enhance your photos.
The best way to ensure you have the perfect photos for your project is to start early. It's better to take as much as possible, then select the best.
Lightroom makes it easy to do this. It lets you see how different settings impact each photo. You can adjust these settings instantly without returning to Photoshop. This allows you to quickly experiment with what looks good and what doesn’t.
Is digital photography hard?
Digital photography isn't as simple as you might think. It takes time and effort to learn how to use the tools properly. It is important to be familiar with the settings that are best for each type of shot. It is best to practice what you have learned. Practice makes perfect.
How can I learn photography by myself?
There are many options for learning how to take great photographs. There are many options: you can buy a book, take a class or join an online community. You can also watch YouTube tutorials. You can't go wrong with doing it yourself if you are serious about mastering the art of photographing. You have full control over the final product. As long as you continue learning, you will always be improving.
In fact, one of the best things about digital photography is that you don't even need expensive equipment. You only need a computer and an internet connection to take pictures. All else is up to you.
These are some suggestions to help you get started.
-
Familiarize yourself with the manual settings for your camera.
-
Learn how the basic controls work.
-
Take lots of photographs.
-
These should be edited.
-
These should be shared.
-
Keep practicing.
-
Experiment.
-
Explore different perspectives and angles.
-
Use light sources creatively.
-
Practice makes perfect.
-
Do not be afraid to fail.
-
Be patient.
-
Have fun
What Lenses Should I Use
Beginners often ask, "What lens should I purchase?" There are many options. It can be difficult to make a decision.
The good news is that you don't necessarily need to buy a new lens every time you purchase a new camera. You can instead add lenses later.
Here are three types you might be interested in.
-
Wide Angle Lens (14mm - 24mm): These lenses give you a wide angle of view, allowing you to capture more of your subject. Zooming in can be done without affecting image quality.
-
Normal/Standard Zoom Lens (28mm to 70mm) : These lenses allow you the flexibility of changing focal lengths, while still maintaining high quality images.
-
Telephoto Zoom Lens (70mm–200mm) : These lenses are ideal for photographing distant subjects. They let you focus on your subject even though they appear small in the frame.
Combining lenses can create different effects. Combining lenses can create different effects. For example, a normal lens could be used to capture small details while a telephoto lens is used to capture faraway objects.
Statistics
- While I cannot prove that all of those spots were not sensor dust, the photo was taken during a heavy snowstorm…so I guess that 99.8% of the spots are snowflakes. (bhphotovideo.com)
- Get 40% off Adobe Creative Cloud(opens in new tab) (creativebloq.com)
- In this case, 100% of readers who voted found the article helpful, earning it our reader-approved status. (wikihow.com)
- There are people out there who will pick at flaws they can only see in 100% crops of your photos. (wikihow.com)
External Links
How To
How to Take Portrait Photos
Portraits are important as they reflect who you are. Portraits also tell your story. While you may have one favorite photo of yourself as a child, you now want to take something different. It is easy to forget the joy of taking photos. Here are some tips to help you get started.
-
You need to have enough lighting. Photographing portraits in the early morning or later in the afternoon is the best time. Avoid direct sunlight shining directly onto your face, if flash is used. This will wash out any details. Avoid shooting at noon. There will be too much shadow.
-
Use a tripod. A tripod will prevent you from seeing any movement when you hold the camera still. You'll lose the opportunity to freeze action. Set up your shot before you use a flash. Next, turn off your flash and then go back to the original shot.
-
Close-ups are best. Closeups are great to demonstrate detail. They can also look fake if they aren't done well. Pay close attention and observe the noses, eyes, and mouths. Notice anything unusual? Is this someone who wears glasses? Are there freckles on the nose of someone wearing glasses? These elements add depth to a person’s appearance.
-
You shouldn't force smiles. Smiles are tricky. Smiles are tricky. Some people smile naturally when they are happy. Others don't. It's not natural to make them smile if you force them. You should think about what makes your laugh. Maybe it's something silly like a cat jumping through a hoop. Or maybe you love watching paint dry. Whatever it is, think about it until you find yourself laughing.
-
Be creative. Many people think they are boring. However, being boring is not a bad thing. Try to find ways to break away from the norm. One way to break the mold is to ask him to hold his hands behind his head. Or you might suggest having him wear a funny hat.
-
Keep practicing. Practice every day and you will eventually be a better photographer. You will start to notice more interesting details around you as your skills improve.
-
Have fun. You should have fun taking photos. You'll be more inclined to return to the same process if you enjoy it. Plus, you'll probably end up with some really cool shots.
-
Share your work. After you've learned how to take beautiful pictures, share them among your friends and family. Tell them why it was taken. Show them the place you were. Tell them what you did.
-
Be patient. Sometimes it just doesn't work. It happens for everyone. Don't worry. Don't worry. Just move onto another image.