Your first photos should be taken at a shutter speed that is less than 0.5 seconds. A shutter speed of at least 0.5 seconds will work well for fast moving subjects. However, shutter speeds of 1/35s and 30s are best for slow moving subjects. It is important to play with settings and take photos to create the desired effects. This is particularly important if your camera app has manual controls.
Locations for long exposure photography
Before starting your long exposure photography project, you should scout the location. You should arrive at the chosen location approximately one hour before your shooting date to assess the weather. Set up your tripod in a secure place and fill the viewfinder with water. Also, you should know what steps to follow to ensure your long exposure photograph is properly exposed. This article will give you some tips to get you started. Read on to discover the best locations for long exposure photography.
High places with views of the ocean are some of the best locations for long exposure photography. Holywood's pier makes for a beautiful spot to capture seascapes. This is a great spot for long exposure photography. In the distance you can see the bridge and the pier. This image was taken with a Fujifilm X-Pro1 along with an ND filter. I used a rule of thirds to fram the shot.
Shutter speed
Look at water if you are looking for shutter speed suggestions for long exposure photos. The movement of water is a great subject for long exposure photography, and rivers are often surrounded by forests. These scenes are darker than those in open fields, and have less light. To stabilize your camera, use a tripod. It is possible to find your shutter speed tips for long exposure photography through trial and error. It is best to set your shutter speed slightly slower than you would normally.
The longer your shutter speed, the more blur you will get. Slower shutter speeds are also better for creating silky water effects. You can shoot with a DSLR at a shutter speed of 1/5 of a second. Long exposure photography requires a slower shutter speed. Long exposures are more challenging because the shutter stays open for longer periods of time, which causes blurring. For dramatic results, you should use shutter speeds of one-half to two seconds or more.
Post-processing
If you're looking for ideas for post-processing long exposure photography, you're not alone. A lot of photographers struggle with long exposure photography due to a lack of instant gratification. The wind can cause your exposure to be interrupted, even though you may have spent the entire night at the beach. The worst part is that you may not like your first picture! Don't give up! There are many ways you can post-process long exposure photos.
You can post-process long exposure photos by creating star-shaped lighting sources. Although the exact settings depend on the type and intensity of the light, you can create star-shaped light sources with small apertures. Long-exposure photographers also need a tripod. For images with strong star effects you should also consider a Neutral Density filters.
Subjects that can be photographed
The best way to make a long exposure photograph is to include a fixed object like a building, tree or other structure. This type of photography is particularly useful in high desert regions where wind turbines can help define the landscape. Wind turbines are an interesting subject because of their influence on clouds. Photograph them even when they aren't in use to add drama. Long exposures can be a great way for you to see the effect of weather and clouds.
Long exposure photos can also be taken from boats, in addition to natural landscapes. You will get a new perspective and be able to employ creative techniques. Also, you can take photos of a campfire. This will create interesting patterns when exposed slowly. A tripod can also be helpful in stabilizing your camera when you're shooting. Your main subject should be your photograph. You can however include other elements.
FAQ
Should I take up photography as a hobby or a profession?
Photography is a great way of capturing memories and sharing them with loved ones. It allows you to discover more about the world.
If you are interested learning how to take better photos, there are plenty online resources that can help.
It may be worth looking into classes at community colleges and art schools. This gives you the opportunity to meet other photographers, who can offer valuable feedback.
Which Camera Should I Buy?
This all depends on who you want as a photographer. If you're just getting started, a basic point and click camera will suffice.
Once you have mastered the basics you will likely need something more advanced. Personal preference is the only way to decide.
These are some considerations before you purchase a camera.
-
Features: Which features are most important? Do you plan to use manual settings, autofocus, or both? How many megapixels is your camera capable of? Is there a lookfinder?
-
Price: What amount are you willing spend on your camera? Are you looking to replace your camera every few years?
-
Brand: What brand will you be satisfied with? You shouldn't settle for less.
-
Functionality: Does your camera perform well in low light conditions? Are you capable of taking high-resolution photographs?
-
Image Quality - How clear and sharp is your image quality?
-
Battery Life: How long can your camera last before it needs to be charged?
-
Accessories: Are you able to attach additional lenses or flashes? ?
Do I Need A Tripod?
This is a question everyone asks. Although a tripod might not always be needed, they can be useful.
It helps you keep your camera steady while taking pictures at slow shutter speeds. A tripod is a great option for landscapes and other stationary subjects.
On the other hand, if you're photographing moving subjects such as sports or people, using a tripod can cause blurriness. How do you decide which situations are best served by a tripod.
A tripod is useful when you need to photograph stationary or fast moving subjects. Examples include:
-
Sports
-
People
-
Landscapes
-
Close-ups
-
Macro shots
Do this test to see if you are unsure if you require a tripod. Take your camera and hold it still. Then, look through the scope. A tripod is required if there are blurred lines, movement or other issues.
A tripod will not improve blurring if you don't notice it.
However, if you do decide to invest in a tripod, here are some tips to keep in mind.
-
Smooth legs are a must for your tripod. This helps to prevent vibrations from shaking the camera.
-
Choose a sturdy tripod. Some tripods made of plastic may not last very long. Consider a tripod made of metal.
-
Buy a remote release. This lets you control your camera remotely. Once you press the button, it will automatically fire the shutter.
-
Try to find a tripod with a head that rotates 360 degrees. This makes it much easier to position your cameras horizontally or vertically.
-
Tripods are expensive. Expect to spend around $100-200. You'll still get a lot for your money.
-
Don't forget accessories such as memory cards or filters.
-
Check your local stores before buying online. Many retailers offer shipping free of charge.
-
To find out what customers think about a product, read reviews.
-
Ask your family members and friends to recommend similar products.
-
For customer feedback, visit message boards and forums.
-
Look online for user reviews.
-
Use websites like Amazon.com to compare prices and read customer feedback.
-
Check out these photo galleries for an example of the work that photographers do with their tripods.
Statistics
- The second easiest way to get blurry photos 100% of the time is to use a cheap filter on the front of your lens. (photographylife.com)
- That's the easiest way to get blurry photos 100% of the time. (photographylife.com)
- There are people out there who will pick at flaws they can only see in 100% crops of your photos. (wikihow.com)
- While I cannot prove that all of those spots were not sensor dust, the photo was taken during a heavy snowstorm…so I guess that 99.8% of the spots are snowflakes. (bhphotovideo.com)
External Links
How To
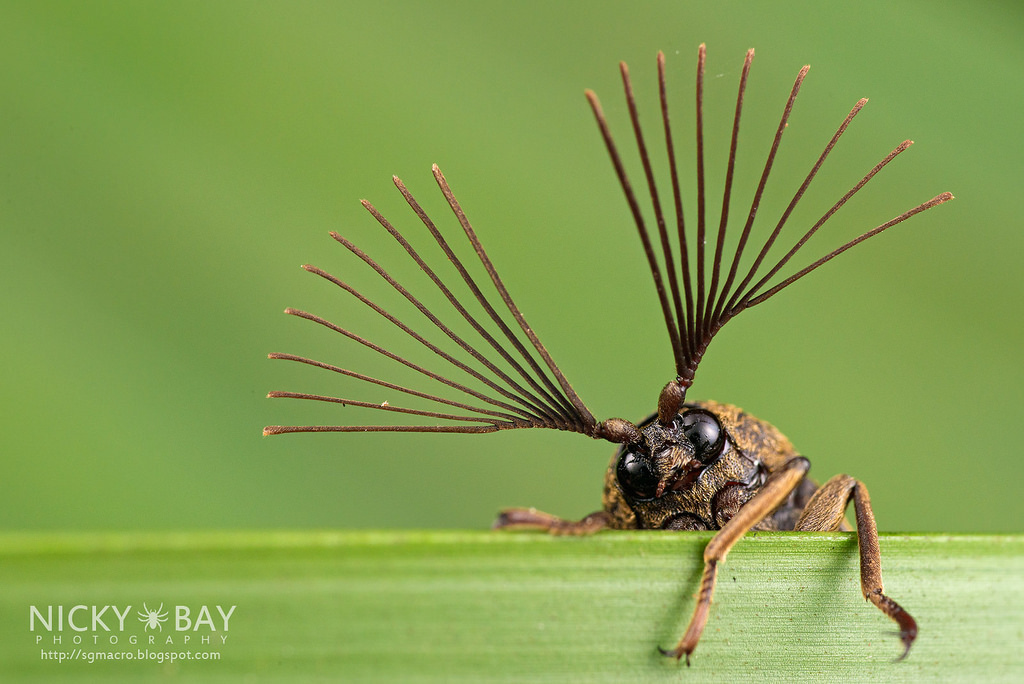
How to take macro shots in photography
Macro photography can be defined as the ability of taking pictures at close range of small objects, such insects or flowers. The term "macro" comes from the Greek word makros (makros), meaning large. It is possible to capture images of very close objects if you have a lens with a focal range greater than 50mm.
A good macro lens should have a long working distance and a fast aperture, so you can get sharp images without moving around too much. It is important to avoid motion while taking photos. Anything that moves during exposure may blur your image.
Here are some ways to get great macro photos
-
Use a tripod. Set up a table or chair so you don’t knock anything over. This will make it less likely that you are moving when shooting.
-
Make sure you choose the right lighting. Macro lenses usually come with built in light filters. But if you don’t, you can always buy one. It prevents overexposure.
-
Be patient! Shooting macros takes practice. Even though you might only see one tiny bug or flower at a time, it is worthwhile to continue shooting until you capture it.
-
RAW format is best. RAW files are more detailed than standard JPEGs and contain more data. RAW files can be edited later and allow for more detail such as cropping and color correction.
-
Don't forget the background. Sometimes the background can add interest to your shot, even if you have a great foreground object. Make sure to include it in the photo.
-
Keep learning.